WHAT YOU WILL LEARN
Include the kernel files in the Jetson OS image; install
Jetson OS; install Jetson SDK components.
ENVIRONMENT
Hardware: ADL-AI2500 with 2TB NVME SSD
Host OS: Ubuntu 22.04 LTS
COMPATIBLE MODULES
Jetson Orin NX and Jetson Orin Nano modules. Only
the BSP archive changes by module.
RECOMMENDED WORKFLOW
Build the OS image first, apply the BSP files, flash the
device, then install the runtime / SDK components.
This guide walks through the ADL-AI2500 JetPack 6.x setup in three phases: prepare the Jetson OS image with the correct BSP files, flash the Jetson OS to the target device, and install the runtime / SDK components over Ethernet.
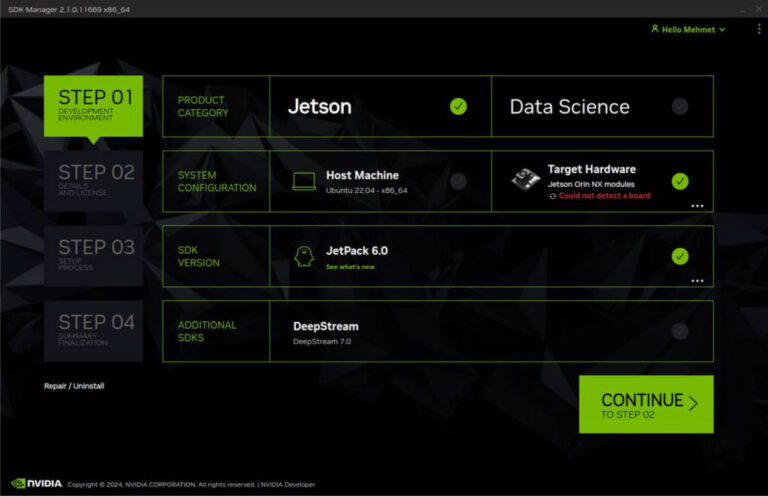
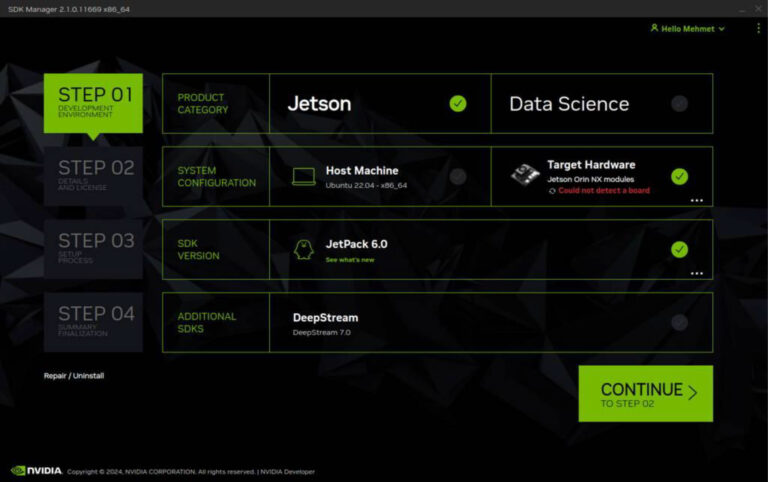
Open NVIDIA SDK Manager and select the correct JetPack version and target module (Jetson Orin Nano modules or Jetson Orin NX modules). Host Machine components are not required.
Continue to Step 2..
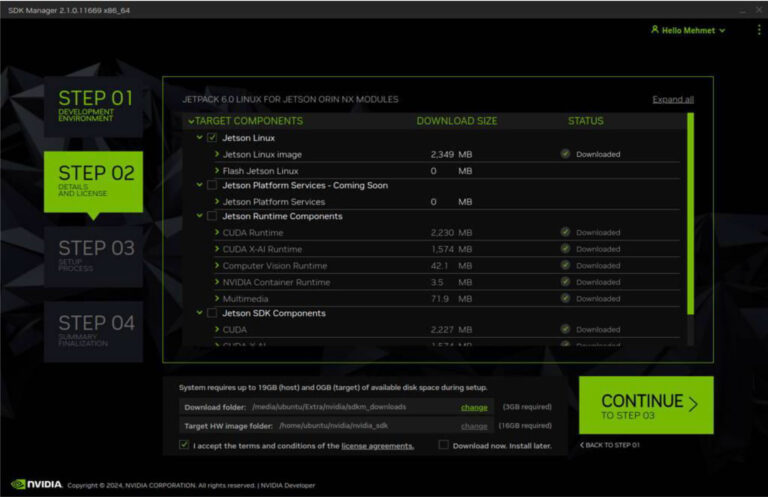
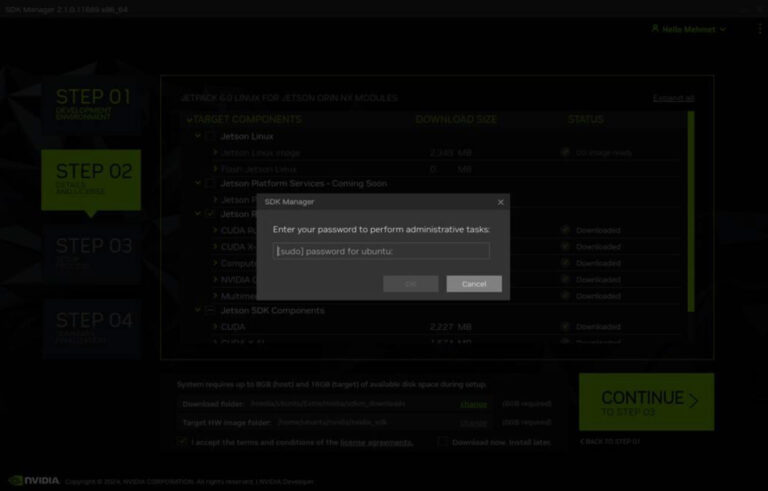
Select only Jetson Linux, accept the terms and conditions, and continue to Step 3.
When SDK Manager asks for the Linux username password, enter it and continue.
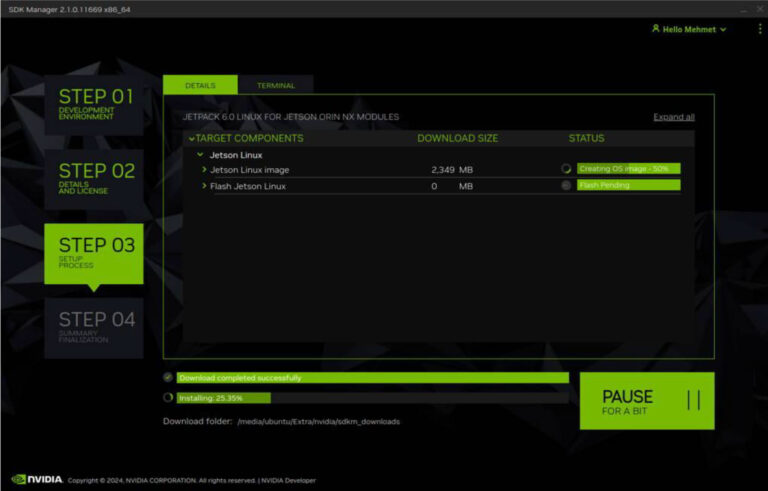
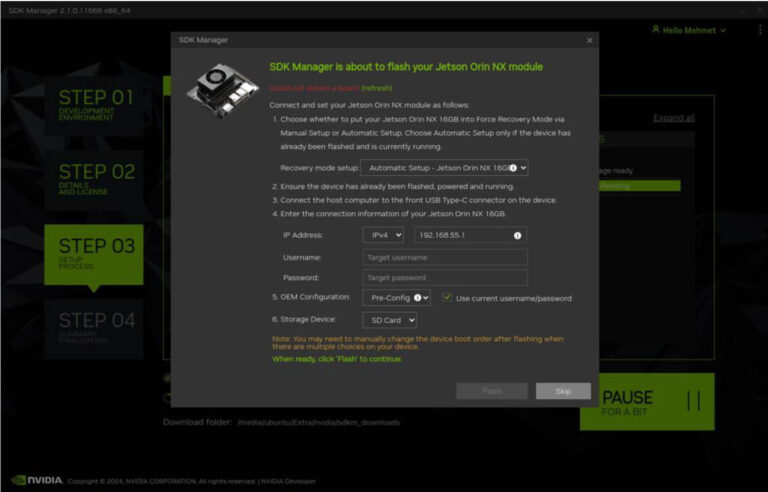
Let SDK Manager build the Jetson OS image. When it later asks about flashing style, skip that step and exit SDK Manager.
Open the target HW image folder.
| JetPack | Orin NX | Orin Nano |
| 6.0 | ~/nvidia/nvidia_sdk/JetPack_6.0_Linux_JETSON_ORIN_ NX_TARGETS/ | ~/nvidia/nvidia_sdk/JetPack_6.0_Linux_JETSON_ORIN_NANO_TA RGETS/ |
| 6.1 | ~/nvidia/nvidia_sdk/JetPack_6.1_Linux_JETSON_ORIN_ NX_TARGETS/ | ~/nvidia/nvidia_sdk/JetPack_6.1_Linux_JETSON_ORIN_NANO_TA RGETS/ |
| 6.2 | ~/nvidia/nvidia_sdk/JetPack_6.2_Linux_JETSON_ORIN_ NX_TARGETS/ | ~/nvidia/nvidia_sdk/JetPack_6.2_Linux_JETSON_ORIN_NANO_TA RGETS/ |
| 6.2.1 | ~/nvidia/nvidia_sdk/JetPack_6.2.1_Linux_JETSON_ORI N_NX_TARGETS/ | ~/nvidia/nvidia_sdk/JetPack_6.2.1_Linux_JETSON_ORIN_NANO_ TARGETS/ |
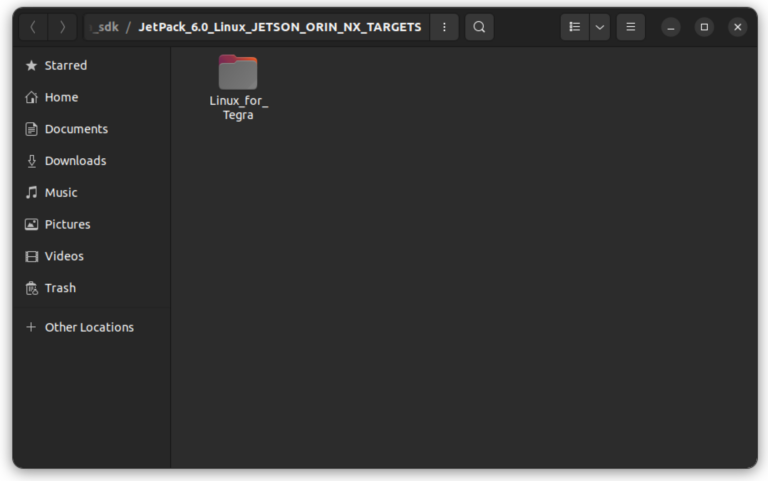
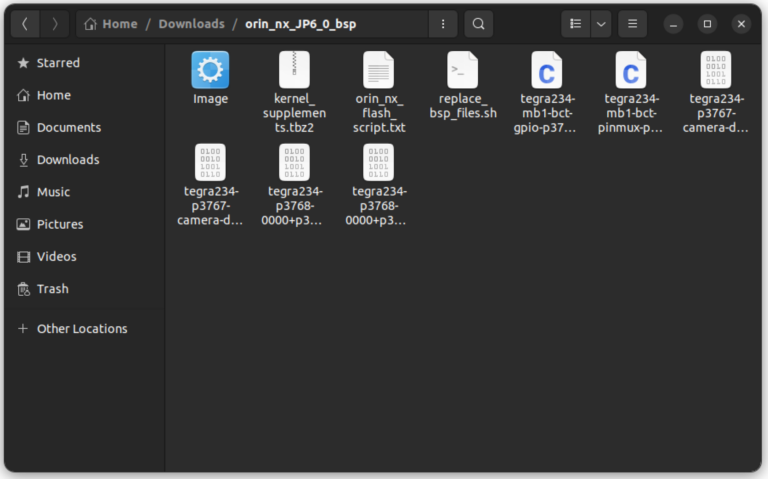
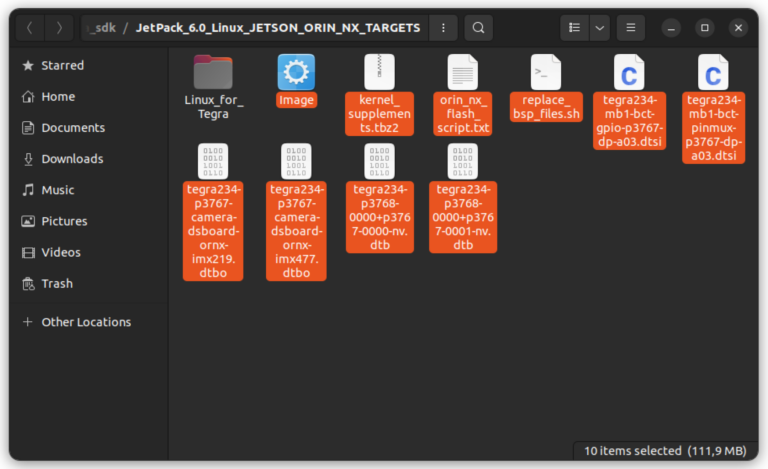
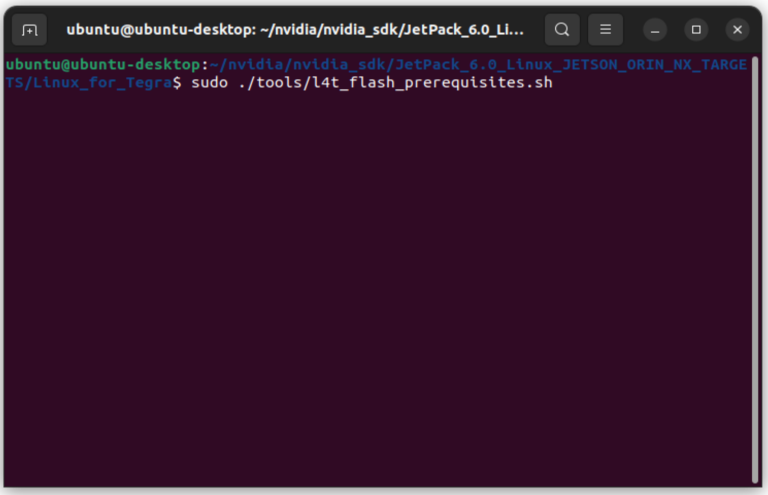
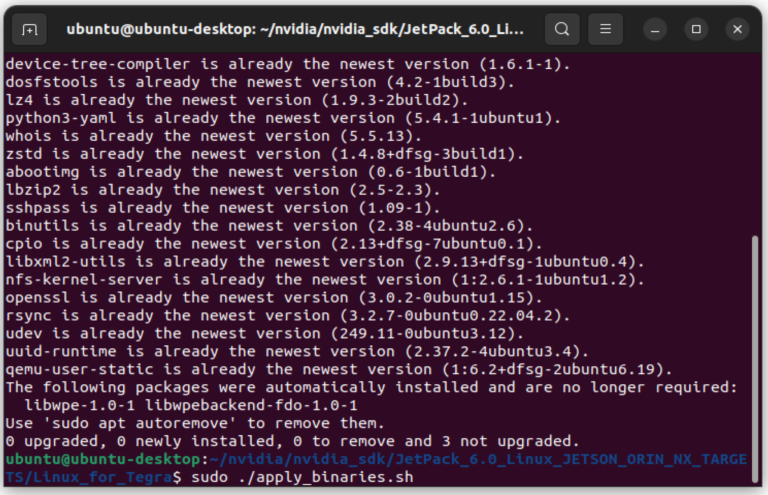
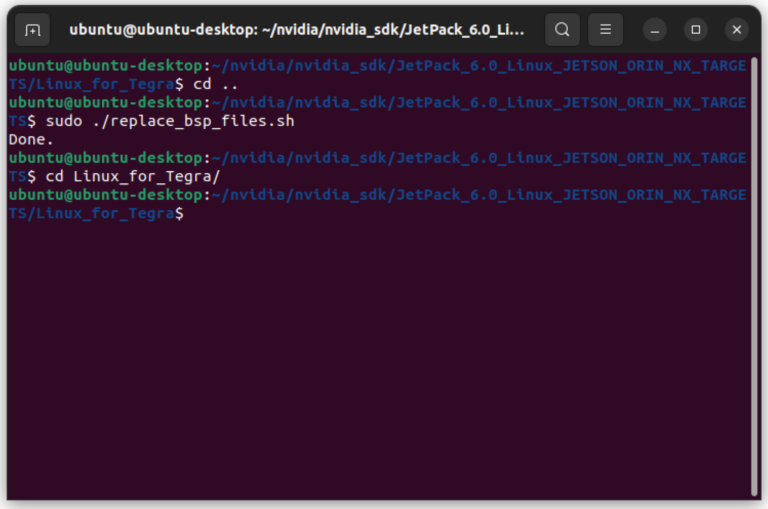
Download the matching BSP archive for your JetPack version and module type, extract it, then copy the extracted files into the target HW image folder. The remaining steps are the same across module types; only the BSP archive differs.
For NX:
For JetPack – 6.0 Orin NX BSP Files
For JetPack – 6.1 Orin NX BSP Files
For JetPack – 6.2 Orin NX BSP Files
For JetPack – 6.2.1 Orin NX BSP Files
For Nano:
For JetPack – 6.0 Orin NX BSP Files
For JetPack – 6.1 Orin NX BSP Files
For JetPack – 6.2 Orin NX BSP Files
For JetPack – 6.2.1 Orin NX BSP Files
Hint: The following steps are for the Orin NX, but they are the same for the other Jetson module types (only the BSP files are different).
Copy all files to the target HW image folder.
Open a terminal in the “Linux_for_Tegra” folder.
Create the system binaries and apply the NVIDIA binaries.
sudo ./tools/l4t_flash_prerequisites.sh
sudo ./apply_binaries.sh
Move up one level, run the BSP replacement script, then return to Linux_for_Tegra.
cd ..
sudo ./replace_bsp_files.sh
cd Linux_for_Tegra/
If you want to bypass the Ubuntu first-boot wizard, create the username, password, and hostname in advance with the command below:
sudo tools/l4t_create_default_user.sh -u {USERNAME} -p {PASSWORD} -a -n {HOSTNAME} --accept-license
Example:
sudo tools/l4t_create_default_user.sh -u ADL -p ADL -a -n ADL-desktop --accept-license
1. Connect the recovery USB between the installer PC and the ADL-AI2500 recovery USB, then connect power.
2. With power connected, press Reset and Recovery together, release Reset, then release Recovery about 3 seconds later to enter Recovery mode.
Attention: for the most stable USB connection, do not flash through a USB hub or docking station. Connect the Jetson directly to the host PC.
3. Run lsusb and confirm the board is detected in Recovery mode
| Device ID | Module |
| 0955:7323 | Orin NX 16GB |
| 0955:7423 | Orin NX 8GB |
| 0955:7523 | Orin Nano 8GB |
| 0955:7623 | Orin Nano 4GB |
4. Flash the OS to the NVMe drive with the standard command below (To flash it with Super Configuration – Skip to next Step).
sudo ./tools/kernel_flash/l4t_initrd_flash.sh --external-device nvme0n1p1 -c
tools/kernel_flash/flash_l4t_external.xml -p "-c bootloader/generic/cfg/flash_t234_qspi.xml" --
showlogs --network usb0 jetson-orin-nano-devkit internal
5. If you want to flash with Super Configuration (supported since JetPack 6.2), use the Super command instead.
sudo ./tools/kernel_flash/l4t_initrd_flash.sh –external-device nvme0n1p1 -c
tools/kernel_flash/flash_l4t_external.xml -p “-c bootloader/generic/cfg/flash_t234_qspi.xml” —
showlogs –network usb0 jetson-orin-nano-devkit-super internal
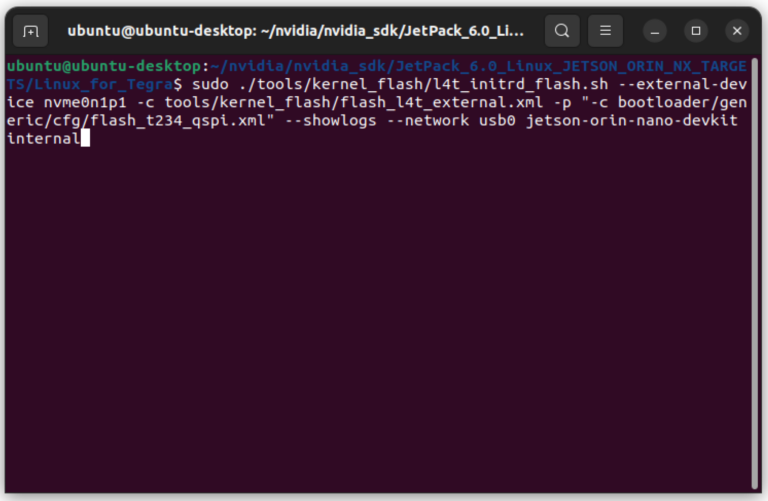
When the script finishes, the device reboots. If you did not create a default user earlier, complete the Ubuntu installation wizard on the ADL-AI2500 (language, keyboard layout, location, username, and password).
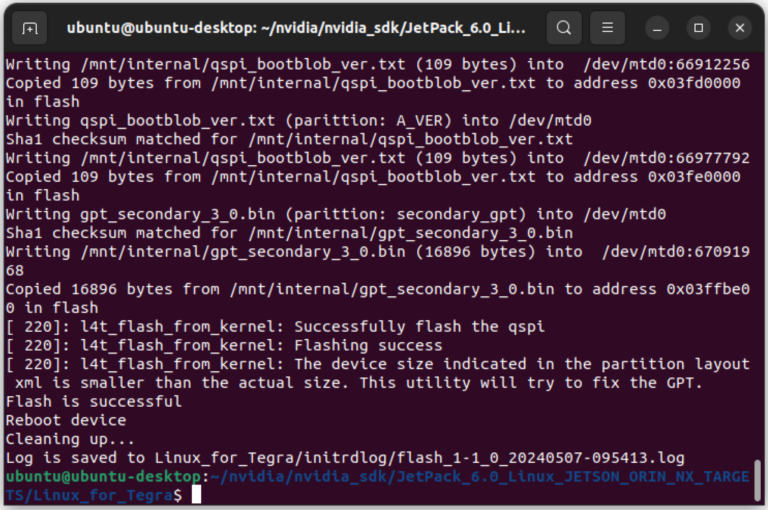
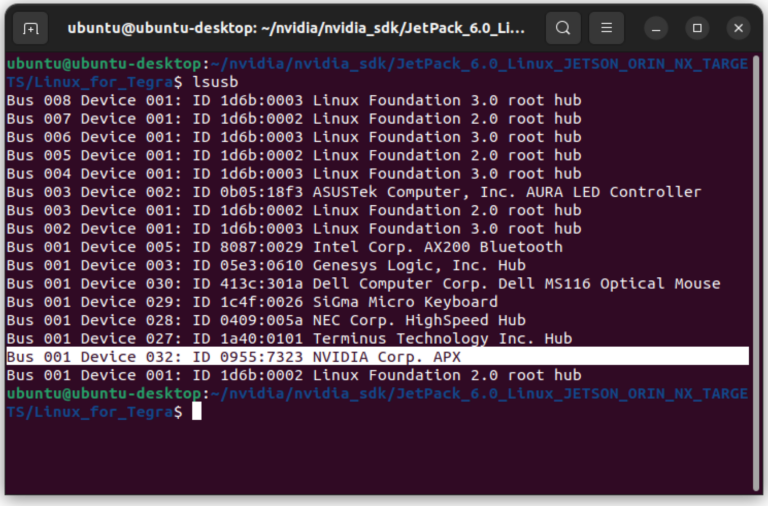
1. Connect the ADL-AI2500 to Ethernet (or use the Recovery USB).
2. Open NVIDIA SDK Manager again and select the correct JetPack version and target module. Host Machine components are still not required. Additional SDKs such as DeepStream are optional.
3. In Step 2, select at least Jetson Runtime Components. Jetson SDK Components are optional depending on the application
4. Enter the Linux host password when prompted
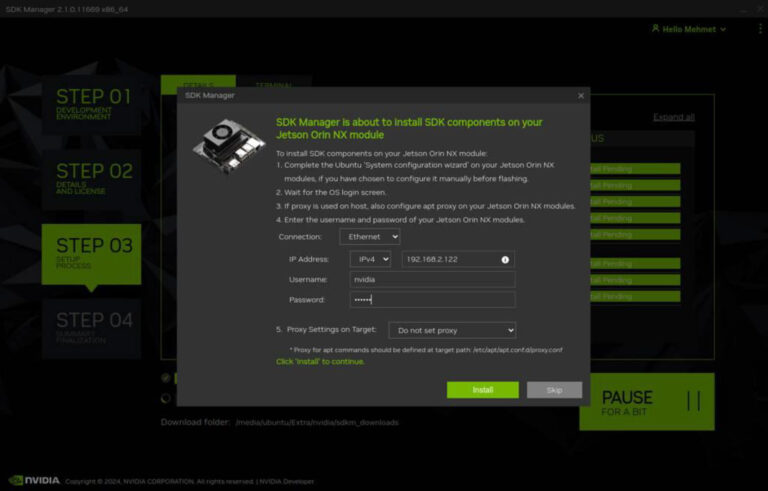
5. Provide the ADL-AI2500 IP address (if using Ethernet), username, and password, then install the selected components.
At the end of the installation, the ADL-AI2500 is ready to use.
To avoid unwanted kernel updates from “apt upgrade” or “apt-get upgrade”, follow this Jetson module guide:
Holding the L4T Packages
Open a terminal and type this command below
sudo apt-mark hold ‘nvidia-l4t-*’
All “nvidia-l4t-*” packages set on hold.
Upgrading All Packages Without L4T
To check the updates on all packages, type this command on terminal
sudo apt-get update
Then, you can try to upgrade them:
sudo apt-get upgrade
At the beginning of this command, it can be seen that all hold packages will keep back.
Press “y” to accept installing packages on the Jetson module.
A few minutes later… (it depends on network speed)
At the end of the upgrading step, you can check it again.
As it can be seen, the holding command worked.